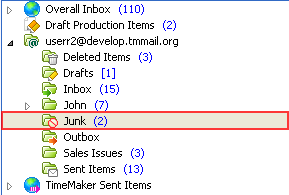
Once an e-mail has been handled it should be moved out of the Overall Inbox folder by either deleting the e-mail or filing the e-mail in a specific folder or at a specific location on the hard disk.
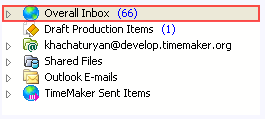
In order to speed up the filing process and to ensure consistency in filing, TimeMaker programmers developed the Filing tool.
The Filing tool allows you to:
- Create filing rules that define the Folder or Folders to which e-mail messages and TimeMaker Messages will be moved once they have been handled based on the sender of the e-mail, the subject of the e-mail, or a variety of other filter options.
Note: You can define more than one rule for the same condition. For example, if you sometimes file e-mails from John Doe under a Folder named John and sometimes under a Folder named Sales Issues, you will have two buttons and when the message has been handled, you will be able to select the Folder in which you want to save the e-mail (John or Sales Issues).

- Define a location on the hard disk where the e-mail message and its attachments will be saved once handled.
- Define Filing Rules for the filing of incoming and outgoing e-mail messages and TimeMaker Messages.
From this tool you can also access all Filing Rules you have previously established.
For example, the user receives an e-mail or TimeMaker Message from John and creates a rule that Messages from John will not arrive to the Overall Inbox folder but instead will be moved to Inbox > John Folder.
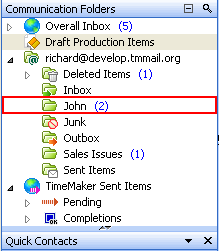
When a specific e-mail has been selected and that e-mail has a defined Filing Rule, the Filing icon  is replaced by an icon displaying the name of the Folder established by the Filing Rule.
If more than one rule has been created for a particular e-mail message or TimeMaker Message, the rules will be displayed next to the Overall Inbox.
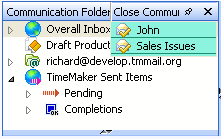
You can also display all rules on the Action Toolbar by clicking the drop-down arrow. 
If you have two or more Filing Rules for one sender, they all will be displayed when you receive an e-mail or TimeMaker Message from him/her. For example, we have two rules: John and Sales Issues.

Reply

An option used to send a reply to the sender of the e-mail message or TimeMaker Message.
Note: Attachments will NOT be forwarded.
Reply to All

An option used to send a reply to the sender of the e-mail message or TimeMaker Message and all other recipients entered in CC field.
Note: Attachments will NOT be forwarded.
Forward

An option to forward (send) an e-mail message or TimeMaker Message to another person.
Note: Attachments will NOT be forwarded.
Resend the message

An option to send an e-mail message once more.
Attach to

By selecting the arrow on the Link to button you are allowed to attach an e-mail message to any Production Task to which you have rights.
You can attach an e-mail message to a Production Task visually or via ID.
When you click Attach e-mail to TimeMaker task visually, the window with the list of Production Tasks to which you have rights will be opened.
Note: The default Filter is enabled displaying only Production Task where you are the Owner . Cancel the default Filter to display all Production Tasks to which you can assign an e-mail message.
When you click Attach e-mail message to TimeMaker task via ID, the window where you can enter the ID of the Production Task to which you want to attach your e-mail message will be displayed.
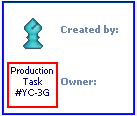
Note: Every task has its own ID displayed in the header of the task.
Convert to TM Item

Select the arrow on the Convert to TM Item button to convert a TimeMaker Message to one of the following:
- Command
- Production Task
- Mini Plan
- CRM Item
Note: By clicking on the Convert to TM Item button you will convert the e-mail message to a Production Task.
Print

An option to Print an e-mail message or TimeMaker Message.
Delete action

An option to delete an e-mail message or TimeMaker Message from TM
Mark as Junk

An option to direct an e-mail message to the Junk folder.
