To install TimeMaker on your computer, follow these steps.
1. Go to www.timemaker.org
2. Download the latest version of TimeMaker Installer
3. Execute TimeMaker Installer setup to install TimeMaker
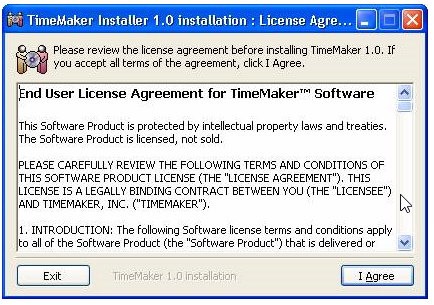
When you execute downloaded file following window appears. Click “I Agree” to accept the terms of License Agreement.
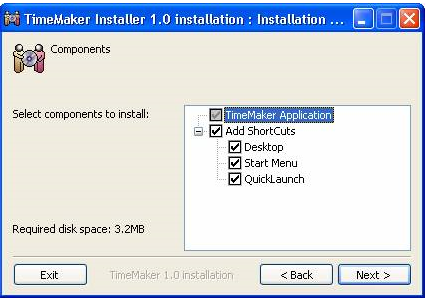
Select components to install and click “Next”.
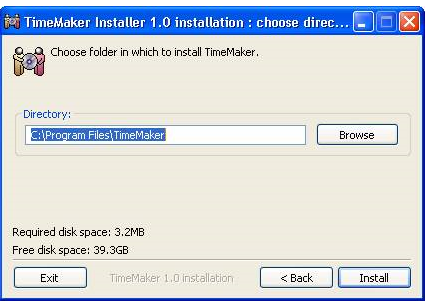
Choose TimeMaker directory – default is “C:Program FilesTimeMaker”. Click on “Browse” to select a different location. When finished, click “Install” to proceed.
TimeMaker will create the directory and install the program files.
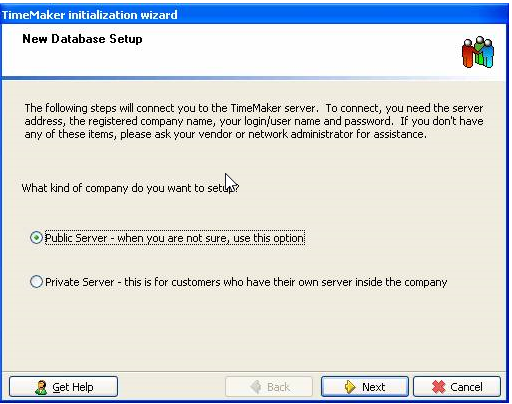
At the first start-up, the “New Database Setup” Dialog Box appears.
Select Public or Private Server, Click “Next”.
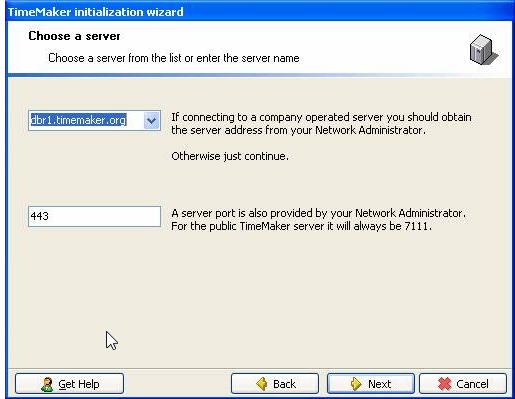
Select the server address and server port, or insert it manually, then click “Next”.
(this dialog may be hidden, but you can access it from the next one by clik “Back”)
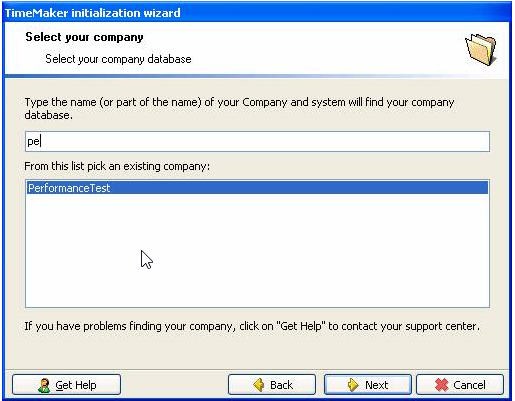
Type part of the name of your company to search and select a company database, click “Next”.
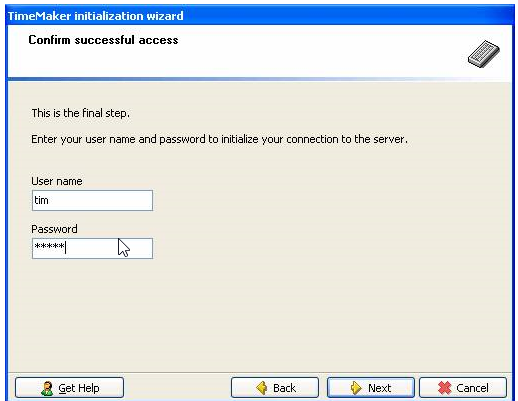
Enter your User Name and Password, click “Next” to proceed.
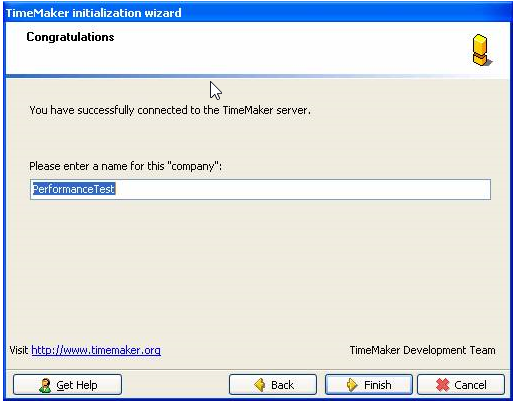
Type any name for this connection configuration, then click “Finish” to save it.
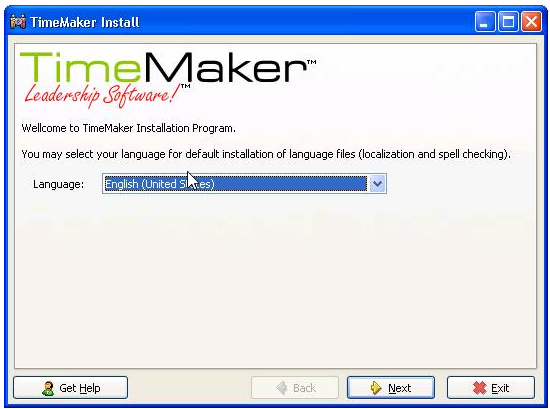
Select your language for default installation of language files.
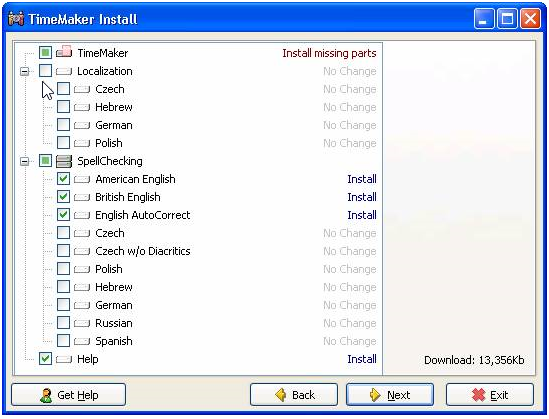
Select the missing parts of Localization and Spellchecking to install (check the desired languages). Click “Next”.
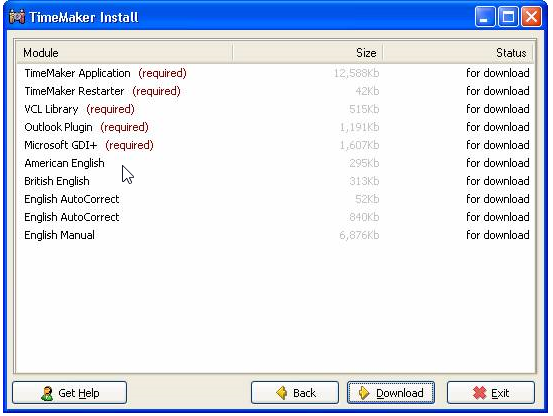
Next screen displays all files to download. Click “Download”.
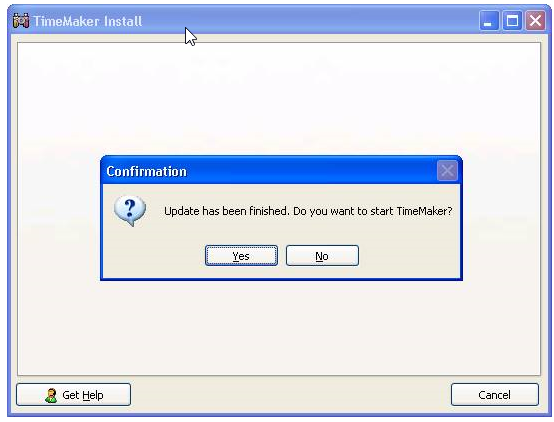
After all updates are installed click “Yes” to start TimeMaker. Please see Login window