Description
The following Icon indicates that an item includes an attachment.
What happens if clicked?
List of Items is sorted according to this column.
Description
The following Icon indicates that an item includes an attachment.
What happens if clicked?
List of Items is sorted according to this column.
Description
Shows the last action applied to the task.
What happens if clicked?
List of Items is sorted according to this column.

Action Icons
What is it?
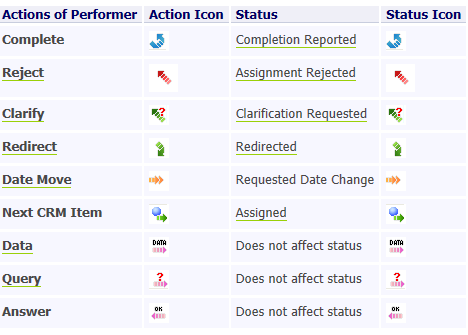
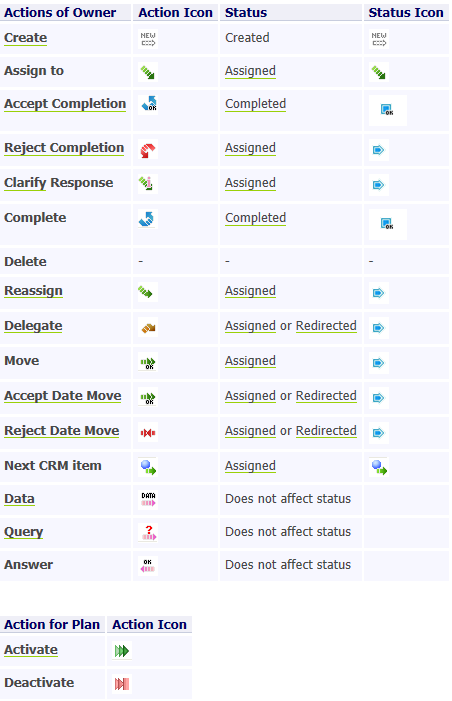
The Action icons present the last action applied to the TimeMaker Item .
An example
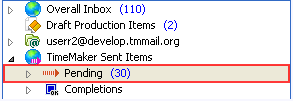
When you Redirect your Production Task, the last action you have applied to the TimeMaker Item is Assign to (while redirecting the TimeMaker Item you assign it to a performer). The TimeMaker Item has the Action icon

displayed in the Pending folder.
Status Icons
What is it?
The Status Icons indicate the condition (actual status) of the TimeMaker Item.
An example
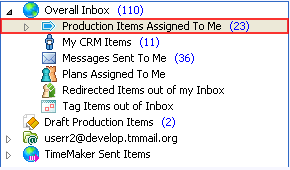
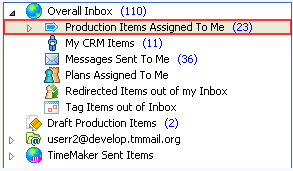
After you Redirected your Production Task, its Status is Redirected. The TimeMaker Item has the Status Icon displayed in the Overall Inbox > Production Items Assigned to Me folder.
Folders that contain the icons
The Overall Inbox

and Pending folder

Overall Inbox >: Production Items Assigned to Me,
Pending, >: Production Items Assigned by Me folders.
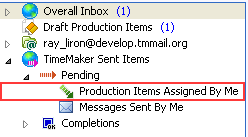
Actions and Statuses Related to Production Items:
Description
Shows how much the TimeMaker Item is important so you can now what is the priority of the task.
What happens if clicked?
List of Items is sorted according to this column.
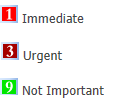
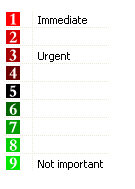
The ! Column – Importance refers to the urgency of the TimeMaker Item . This column is represented by an Icon the urgency of the TimeMaker Item .

TM has two general levels of urgency.
Standard and user defined.
The Standard Urgency Level refers to Normal and Rush and being represented by the following icons:

The User Defined levels get defined by the Administrator and allow to setup from 1 up to 9 levels of urgencies. The 1 level represents the most urgent level.
First, third and ninth levels are shown by default:
To name levels of Importance:
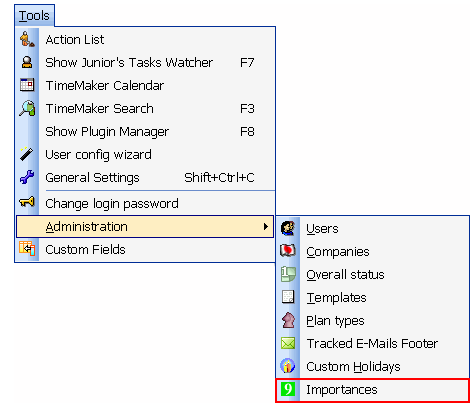
2. In the Name field, specify the names for the levels you want to be shown.
Description
Shows an icon of the item. So you can see whether it is Production Task, Command, TimeMaker Message or Plan, etc.
What happens if clicked?
List of Items is sorted according to this column.
Type refers to the the Type of TimeMaker Item . That column displays an Icon which represent the type of TimeMaker Item .
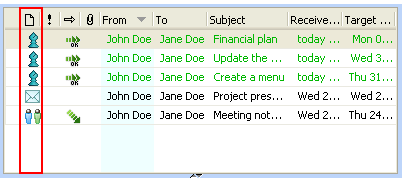
The following are the Icons and the corresponding TimeMaker Items:

Fields in the E-Mail 2.0 Module
What is it?
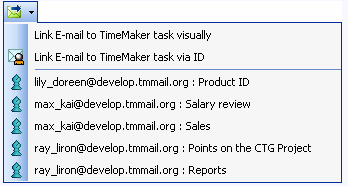
A tool that allows you to link an e-mail to an existing Production Task you have rights to view.
If you click the Link to icon, the Link e-mail to TimeMaker Task Visually window will be opened by default.
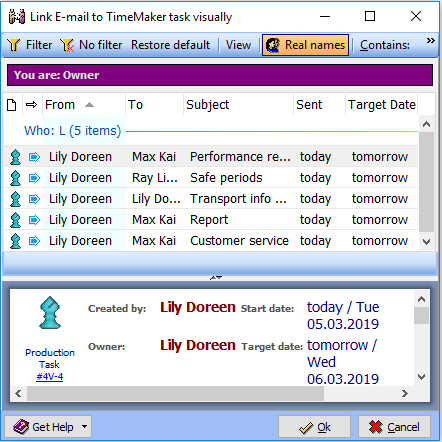
Utilizing the Search and/or Filter function you will be able to select the desired Production Item and Link the e-mail to that item.
Note: You can now execute any of the standard actions in regard to the Linked e-mail.
What happens if clicked?
Open the filter by clicking the Filter icon. Using the Filter, you can select the desired item.
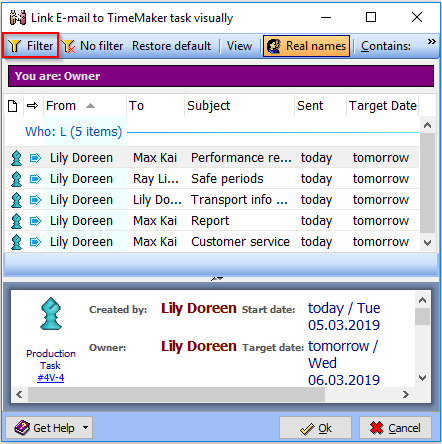
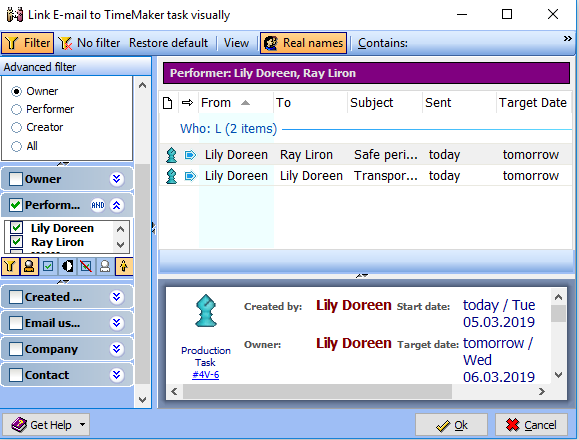
Note: You can now execute any of the standard actions in regard to the Linked e-mail.
The e-mail is attached.
Note: You must click Send for the e-mail to be attached to the Production Task.
A Linked and/or Attached e-mails are indicated by the following icon. 

An option to direct an e-mail message to the Junk folder.
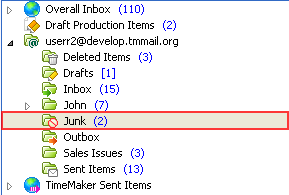
What happens if clicked?

An option to Print an e-mail message or TimeMaker Message.
What happens if clicked?

Select the arrow on the Convert to TM Item button to convert a TimeMaker Message to one of the following:
Note: By clicking on the Convert to TM Item button you will convert the e-mail message to a Production Task.
What happens if clicked?

An option to send an e-mail message once more.
What happens if clicked?